

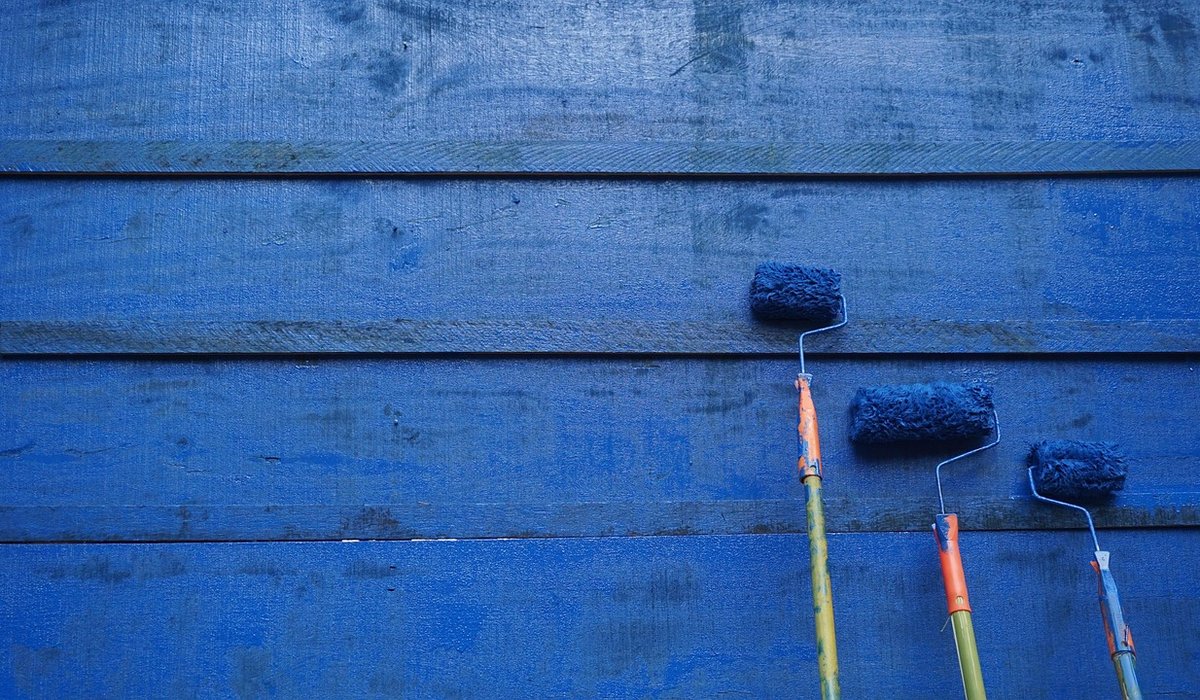
How to prepare walls before painting for a smooth finish
Why preparation decides the finish
Paint is only ever as good as the surface beneath it. A wall that has been filled, sanded and cleaned will hold its coating properly, dry evenly and look flat when the light hits it. Skip those steps and you invite peeling edges, patchy sheen and a finish that shows every ridge and hollow. The reassuring part is that preparation is neither expensive nor complicated — it simply asks for patience and a methodical approach, one wall at a time.
Most disappointing paint jobs are not caused by cheap paint. They are caused by dust, grease and movement that were never dealt with first. Give yourself an extra hour or two per room and the difference will be obvious for years.
Start with a clear, honest look at the wall
Clear the room as far as you can. Push furniture into the centre, lay dust sheets, and tape over sockets and switches so you are not tempted to cut in around them later. Then inspect the wall properly. Hold a bright work light at a low angle across the surface — this raking light reveals dents, ridges, hairline cracks and uneven filler that ordinary daylight hides completely.
- New plaster: let it dry fully before painting. A rough guide is one week per 5mm of thickness, and it should feel uniformly pale and cold rather than cool and damp.
- Previously painted walls: wash down with a warm sugar soap solution to remove grease, cooking residue and nicotine, then rinse.
- Flaking or blown paint: scrape back to a firm edge and feather the edges with sandpaper. Painting over loose material simply lifts it off later.
- Damp or mould patches: treat the underlying cause before you decorate. No coating will hold over active moisture.
Fill cracks and holes properly
Hairline cracks of around 2mm or less generally take a fine surface filler. Mix powder filler to a smooth, thick paste and apply it with a filling knife, pressing firmly across the crack rather than running along it, so the material is pushed into the gap. Overfill very slightly, then scrape back level while the filler is still soft.
Filler shrinks as it dries, so a second thin coat is usually needed once the first has gone off. Deep holes and wider cracks are best built up in two or three thin layers rather than one thick dollop, which will crack or slump. Allow each layer to set before adding the next.
Where two surfaces meet — along skirting boards, architraves and ceiling lines — use a decorator's caulk instead of filler. It stays slightly flexible, so it moves with the building rather than splitting as the seasons change. Run a thin bead, smooth it with a damp finger, and leave it to cure.
Sanding: the step most people rush
Sanding does two jobs. It flattens the repairs you have made, and it keys the existing surface so new paint has something to grip. Sand filler with a medium grit, around 120, to knock back the bulk, then finish with 180 to 240 grit for a smooth edge. Wrap the paper around a sanding block for flat areas so you do not create dips with your fingertips.
Then give the whole wall a light key. You are not trying to remove the old paint, only to dull the shine and provide a mechanical grip for the next coat. Work in small circles with light pressure and check your progress regularly under the raking light. Run your hand across each repair — you should not be able to feel where it begins and ends.
Wear a dust mask and eye protection while sanding. If your home was built or decorated before the 1960s, assume old paint may contain lead until you know otherwise, and take appropriate precautions rather than dry sanding aggressively.
Clean away every trace of dust
Dust is the single most common reason paint fails to stick. It sits between the wall and the coating, and it shows up as gritty bumps in an otherwise smooth finish. It also migrates everywhere, settling on skirting boards and floors while you work on the walls.
- Wipe the walls down with a damp cloth or sponge, rinsing it often so you are lifting dust rather than redistributing it.
- Vacuum with a brush attachment, working from the ceiling downwards.
- Use a tack cloth for a final pass immediately before painting.
- Wipe skirting boards, door frames and window sills as well, since dust drifts downwards.
- Let the surface dry completely before you apply any primer or paint.
Prime, check and only then paint
Bare filler is porous and thirsty. It will soak up paint unevenly and leave dull patches unless you spot prime each repair first, either with a thinned coat of your topcoat or with a dedicated primer. Any stained areas — water marks, smoke damage, ink or marker pen — need a stain-blocking primer, or they will bleed through every subsequent coat.
Once the primer is dry, inspect the wall one final time in raking light. Fill, sand and dust again if anything catches your eye, because it will be far harder to correct once the topcoat is on. When you are satisfied, dust the room down one last time and begin painting.
It is quiet, unglamorous work, but preparation is what separates a finish that looks homemade from one that looks professionally done. Do it properly and the painting itself becomes the easy part.


Preparation
-
Matt, eggshell and satin each suit different spaces, so consider moisture, traffic and light before buying your next tin.


Colour


-

Long established fact that a reader will be distracted
-

Long established fact that a reader will be distracted
-

Long established fact that a reader will be distracted



Techniques
Karla Gleichauf
12 May 2017 at 05:28 pm
On the other hand, we denounce with righteous indignation and dislike men who are so beguiled and demoralized by the charms of pleasure of the moment
M Shyamalan
12 May 2017 at 05:28 pm
On the other hand, we denounce with righteous indignation and dislike men who are so beguiled and demoralized by the charms of pleasure of the moment
Liz Montano
12 May 2017 at 05:28 pm
On the other hand, we denounce with righteous indignation and dislike men who are so beguiled and demoralized by the charms of pleasure of the moment